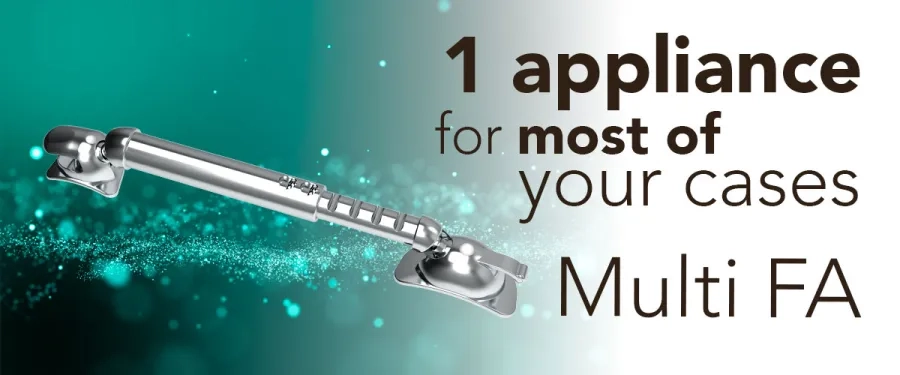
Multi FA
Class II & III appliance
Multi fonctional Appliance for CL II and CL III Correction
System for distalization of posterior teeth for class II and III treatment.
One appliance for 90% cases
Benefits
- One appliance for 90 % of distalization cases
- No previous measurements necessary
- Storage of many different sizes is not necessary
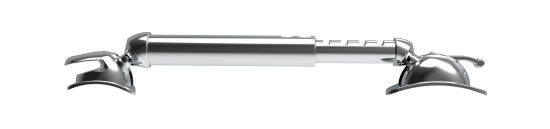
- Anatomically shaped anterior and posterior ball joints with three-dimensional hinge for an optimal fit and derotation of the molars
- Optional Design available that can be used with molar tubes
Available sizes
- Regular (18-28 mm) Installation between canine and first molar
- Short (12-17 mm) Installation between the first premolar and first molar
- Long (23-36 mm) Installation between canine and second molar
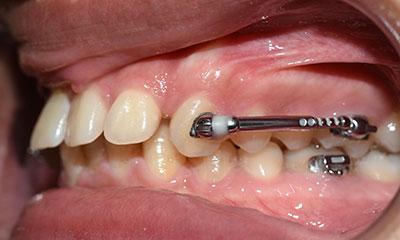
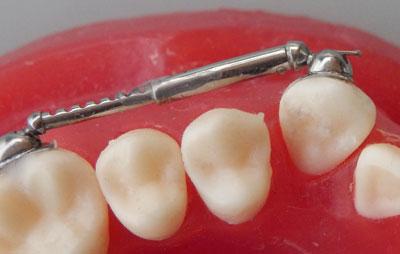
Installation of the appliance
- Clean the corresponding teeth, condition with phsophoric acid as usual and dry.
- Apply GC Ortho Connect to the posterior ball joint and position it centrally on the first molar using molar forceps. The arm should point anteriorly parallel to the dental arch. Remove excess adhesive and light-cure.
- If the first molar is palatally/lingually inclined, it is recommended to position the posterior ball head on the second molar
- Ensure that the posterior arm is parallel to the arch. This makes it easier to attach the second arm section.
- Apply adhesive to the anterior ball joint and slide the arm onto the bonded posterior arm. The anterior ball joint should be positioned centrally on the canine and then light-cure the adhesive. If the canine has already been orthograde inclined or distally rotated, it is recommended to block the anterior joint with composite after insertion of the appliance to prevent unwanted rotation.